
TouchDesigner – Projection Mapping
For TouchDesigner basics (how do I zoom in? how do I select things?) please see: https://docs.derivative.ca/First_Things_to_Know_about_TouchDesigner or see the following QuickStart Guide.
For sample, pre-built networks (in case you can’t attend or get lost) see the Github. Press the green CODE button and select download ZIP from the menu. Unzip the folder and click on one of the networks (extension “.toe”) to get started. https://github.com/mirabellej/ProjectionMappingWorkshop
1. Open TouchDesigner. You’ll see the following network already in place:
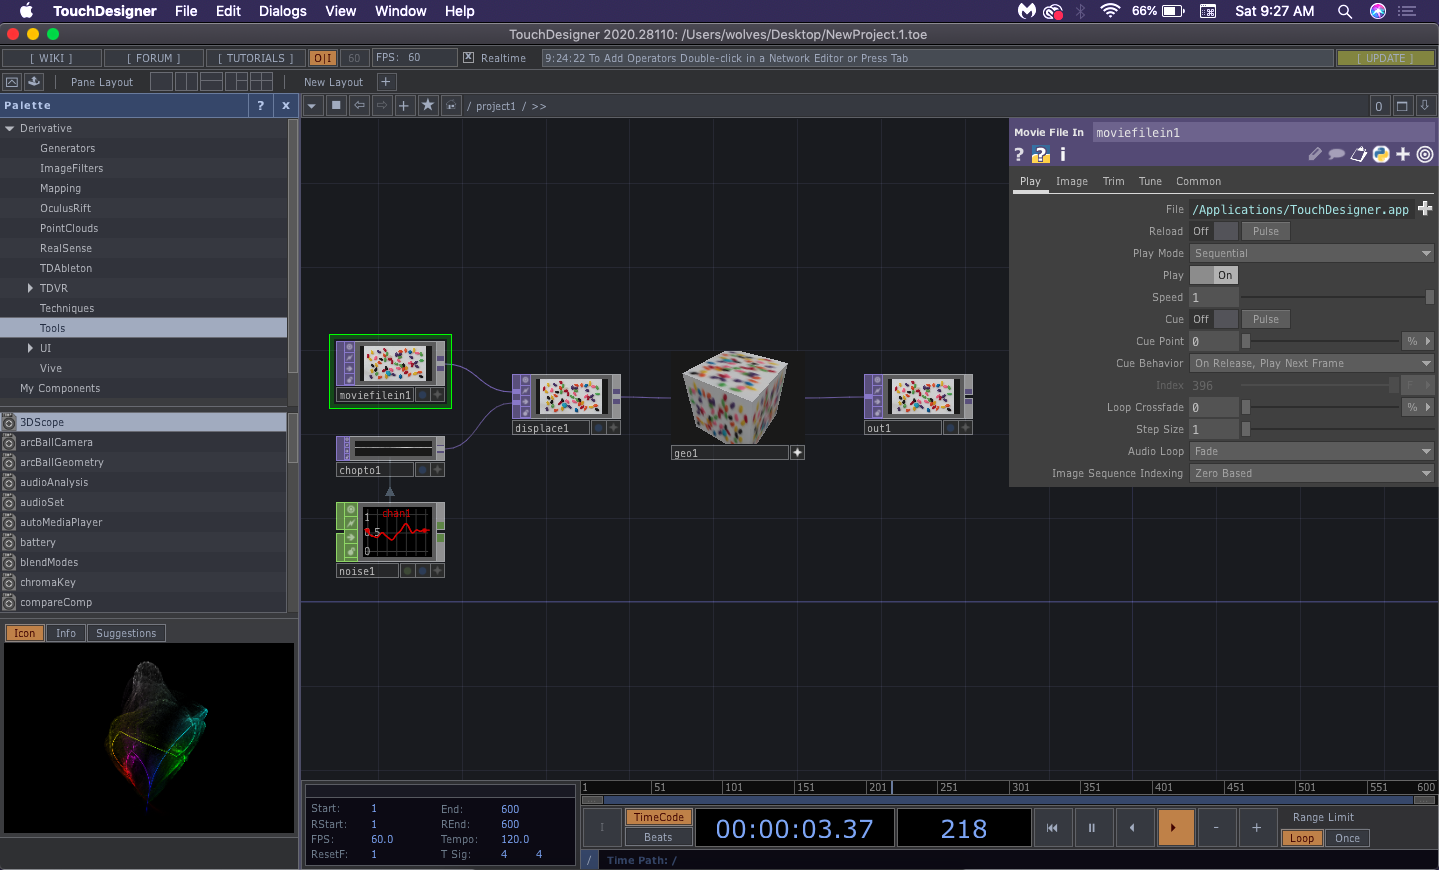
What you’ll see when you start a new network in TouchDesigner or open the application for the first time.
2. Press COMMAND A (mac) or CTRL A (windows) to select everything or you can right click and drag to box select the nodes. You will know everything is selected because it the nodes will be outlined in yellow with exception to the selected node which is green.
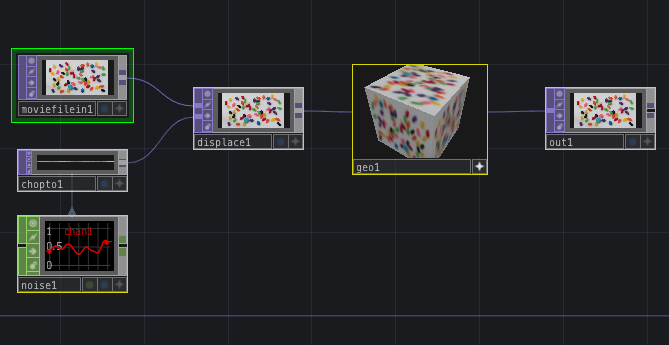
Press COMMAND A (Mac) or CTRL A (Windows) to select all nodes in the network.
3. Press delete to remove all the nodes and start a “fresh network.”
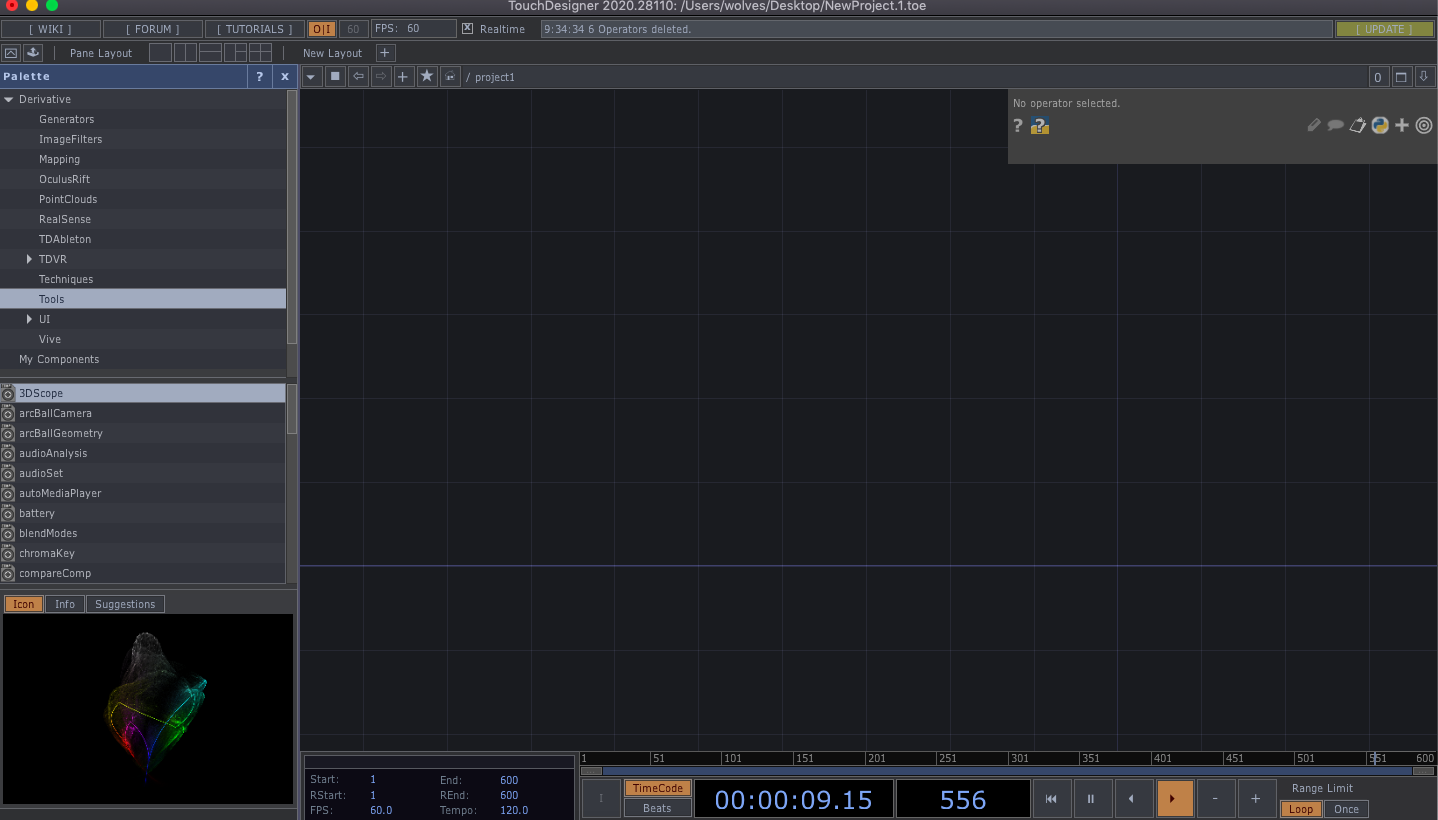
Press delete or backspace to delete all nodes. and begin a “fresh network.”
4. Press TAB to bring up the operator menu. We can choose which operators to add to our network using this menu by adding them one at a time and connecting them with cords.
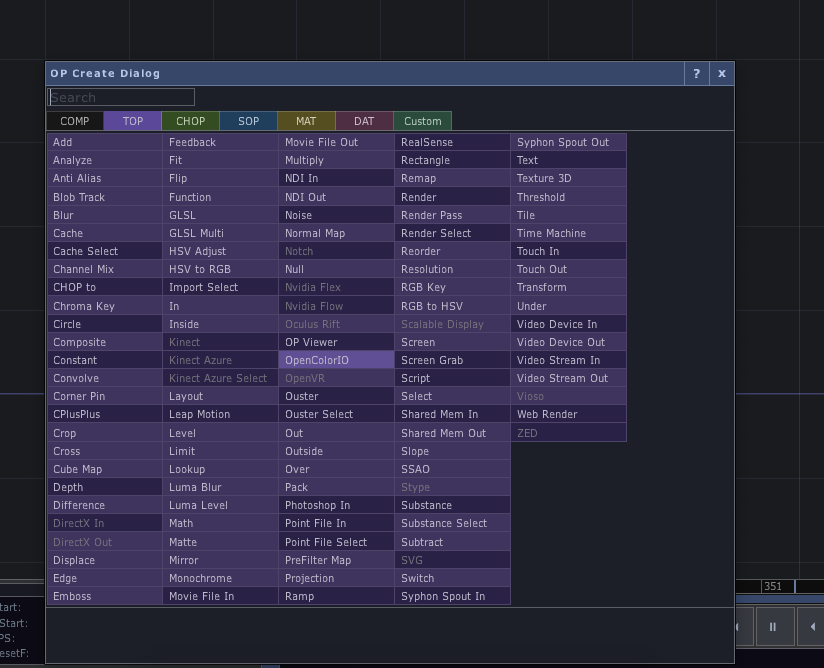
Press TAB to bring up the operator menu.
5. In the search box type “Movie File In.” This will identify where Movie File In is in the menu. In the menu, select this operator by clicking on it with your cursor.
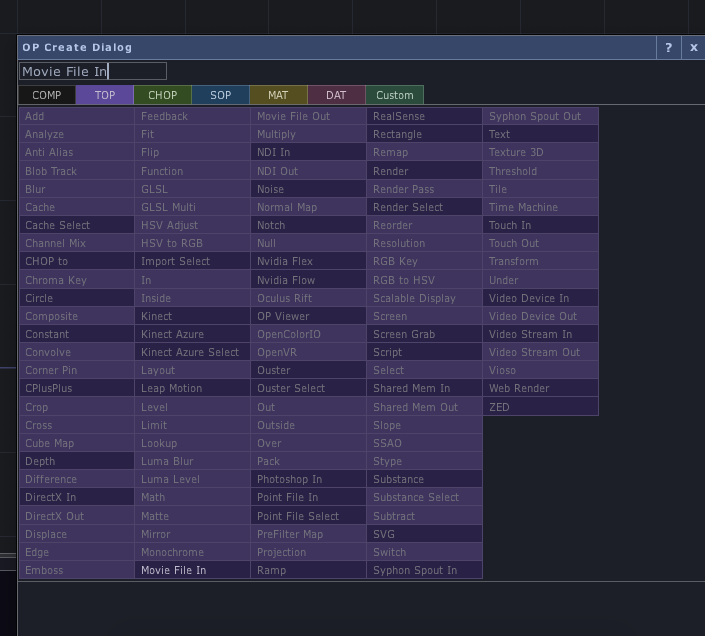
Type “Movie File In” into the search bar then select it with your cursor from the TOP family menu.
6. Click anywhere in the network to drop the Movie File In TOP node into the network.
Click on the network to place the Movie File In TOP into the network.
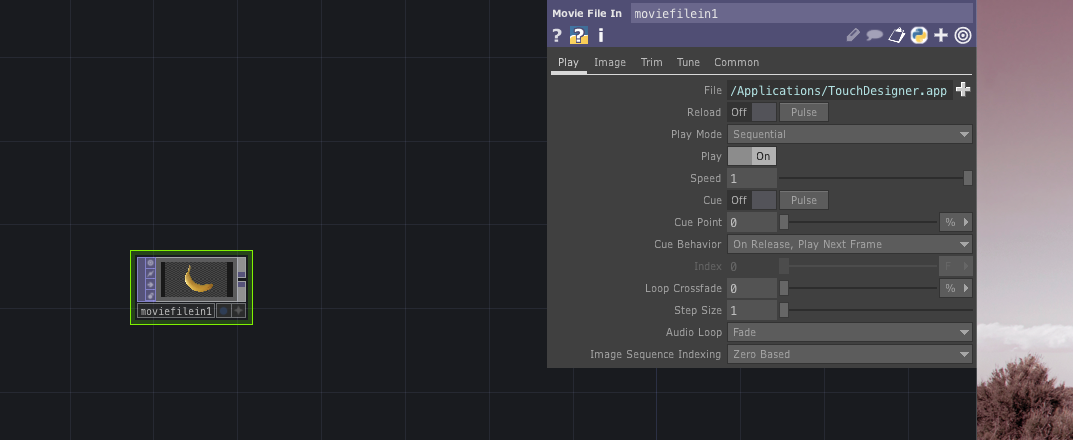
7. By default, you will see a banana image as the selected movie. TouchDesigner has a number of video and image files included with the software. You can select a new video to play using the menu to the far right of the screen that appears when moviefilein1 is selected. If this menu is not visible, or disappears, press P to bring it back. In this menu, the first field you will see under “Play” is File. By default, this links to the banana image. The path is written in light blue. Press the “+” next to this path.
Press the “+” to the far right of the field marked “File”
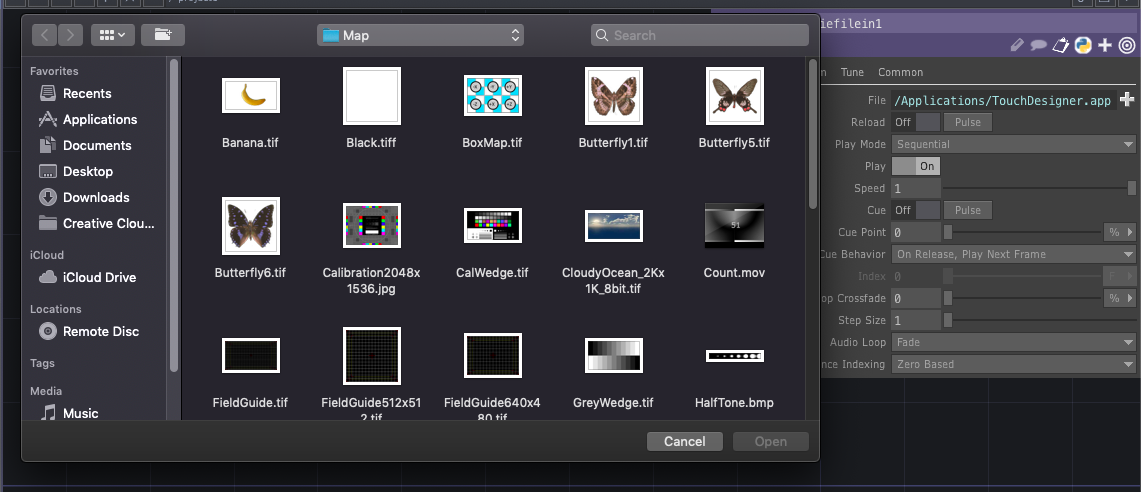
Pressing “+” brings up the file navigator. You can use this to select a different video from TouchDesigner or navigate to a video on your computer.
You can now use the file navigator to select a different video from TouchDesigner or navigate to a different video or image file on your computer. When you have the video selected, press “Open” to apply this as the new video for the node. I will select Count.mov.
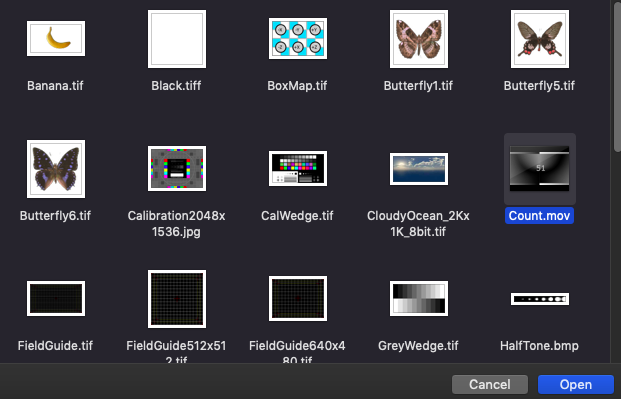
Select Count.mov or another video file on your computer. Then click Open to apply the video as the new node.
This video file will serve as the texture (image) for our mapped projection.
8. In the menu to the far left, the palette browser, select Mapping from the Derivative dropdown menu. Then select kantan mapper from the menu which appears below it.
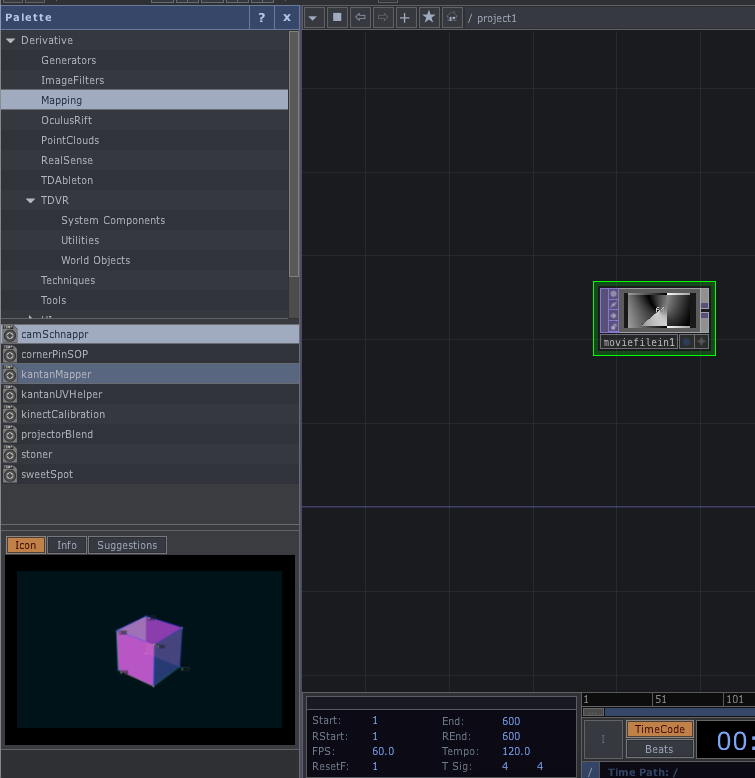
Select Mapping from the Palette Browser and then select kantanMapper from the bottom menu.
Click, hold, and drag kantan mapper into the network.
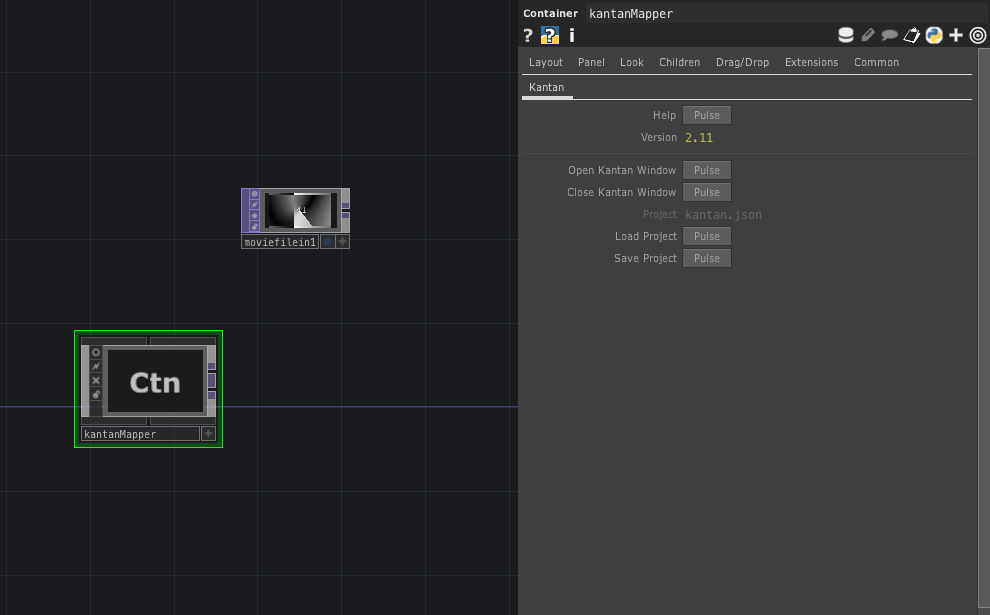
Click, hold, and drag kantan mapper into the network then release.
9. Click on the kantanMapper node. In the window that appears to the right called “Container” you will see an option that says “Open Kantan Window” and next to it a button that says “Pulse.” Press the Pulse button to open the kantan mapper window.
Press “Pulse” next to Open Kantan Window.
You will see the following open in a new window on top of the main TouchDesigner window.
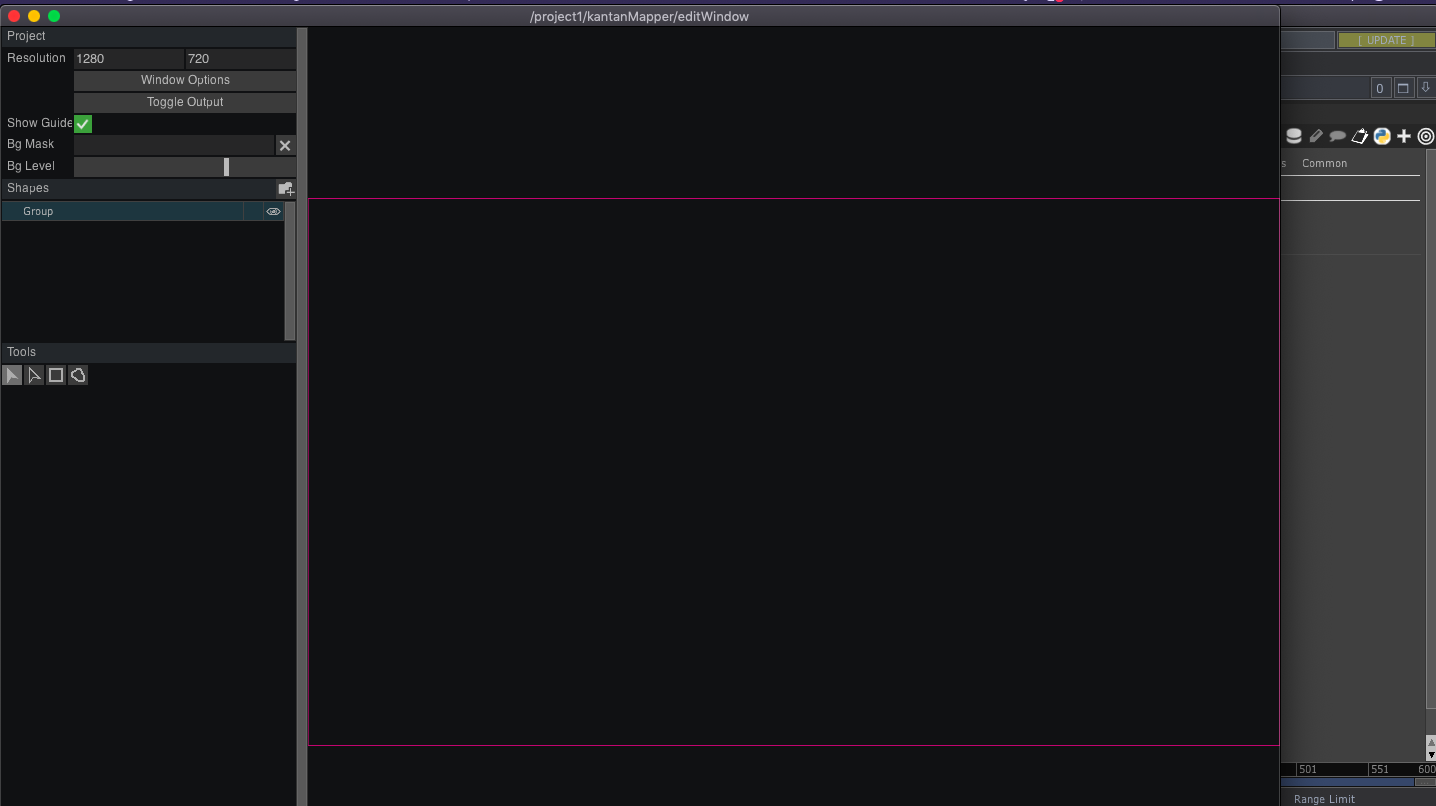
Kantan Mapper will open over the main TouchDesigner window.
10. Click the button “Window Options.”
Select Window Options.
In the menu that pops up to the right, we can change a number of settings to get our content to output properly to our projector or “fake projector.”
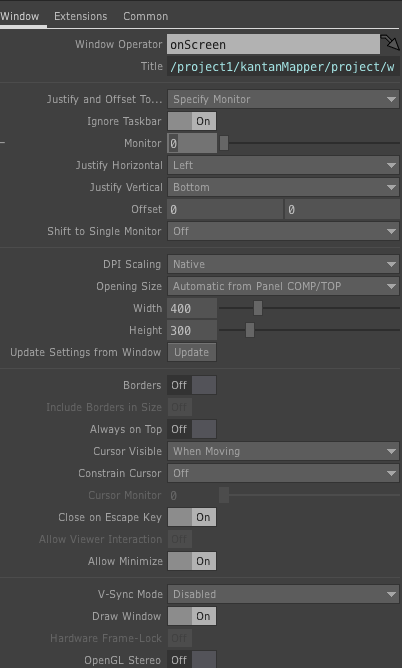
The Window operator view for Kantan.
If you are using a projector or second window change Monitor from 0 to 1.
If you are using a projector, set monitor to 1.
Under opening size, select “Fill.”
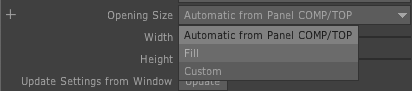
If you are using a projector, from the Opening Size menu select “Fill
If you do not have a projector or a second window, toggle the option for “Always On Top” to On.

If you do not have a projector, toggle the option for Always on Top to On.
Then select Custom from the opening size menu and leave values as 400 x 300.

If you do not have a projector or a second window, from the Opening Size dropdown select “custom” and leave values as 400 x 300.
In both cases, scroll to the lower half of the Container operator menu. Press the button next to “Open as Separate Window.”
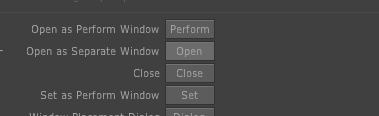
In the lower calf of the Kantan container window, press the button next to “Open as Separate Window”
If you are using a projector or second monitor, the kantan screen should output to your projector or second monitor. You should be able to move your cursor back and forth to see a yellow cross hatch follow your cursor’s movements. If you are using just one screen, you should see a small “fake projector” window appear in the lower left-hand corner. If you would like this windows to be larger, you can change the width and height under the opening size settings.
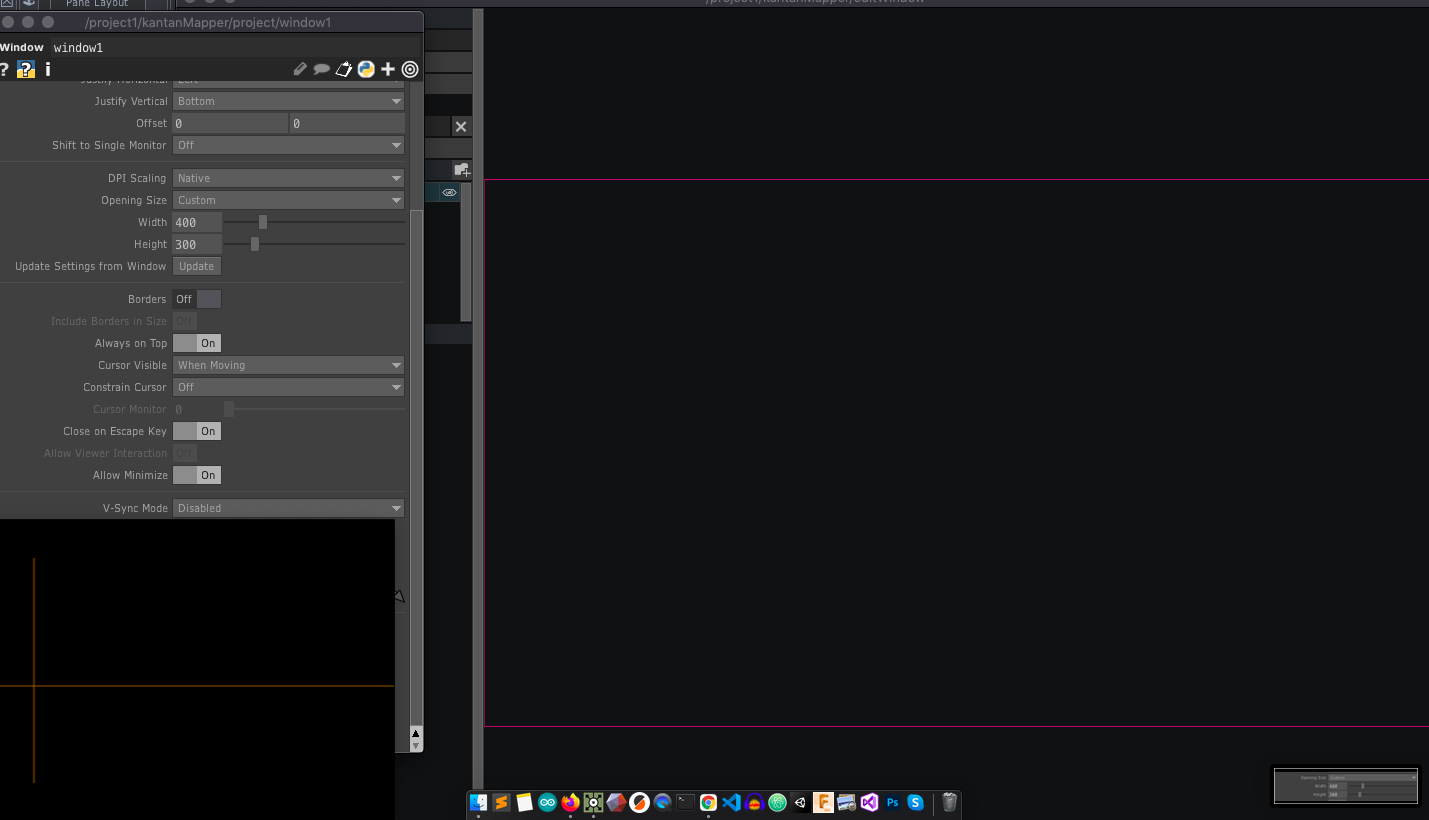
If you do not have a projector or a second monitor, you should see a small “fake projector” window pop up in the lower lefthand corner.
Press the red x at the top of the window options to exit window settings.
11. Now we are ready to start mapping and see it output to our projector, second window, or fake projector window in real time.
Under “Tools” in Kantan Mapper, select the rectangle. A tool tip will pop up saying “Create Quad.”
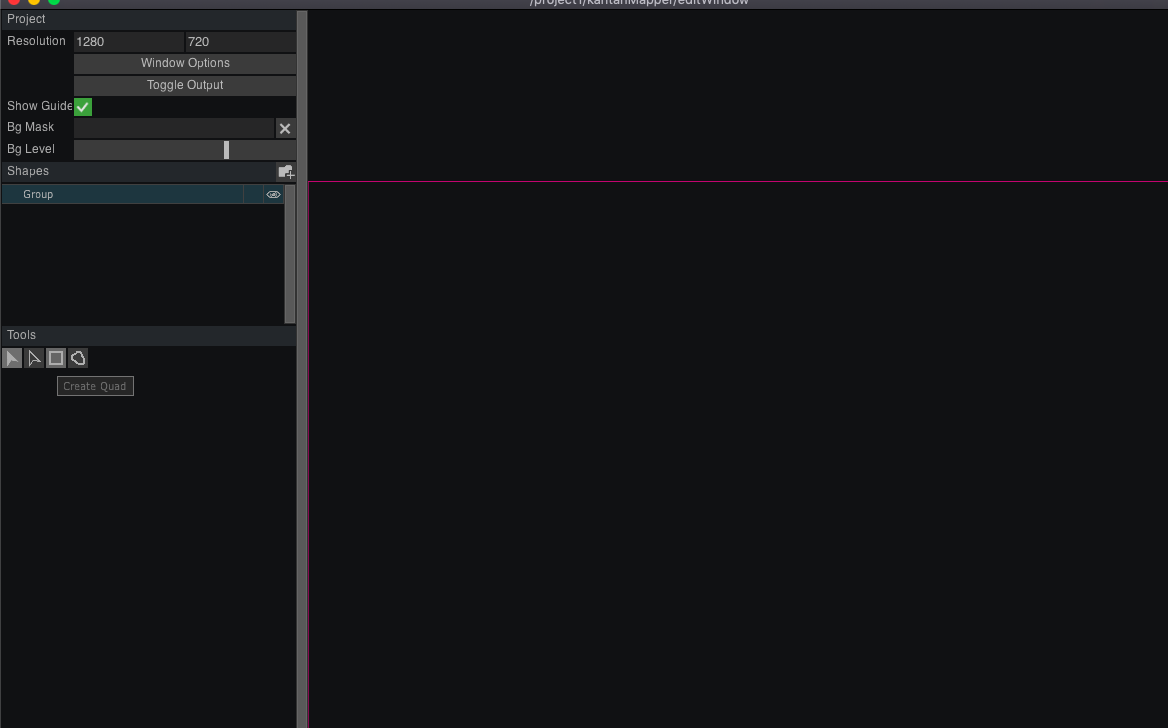
Under “tools” select the rectangle icon for “Create Quad”
Click and drag anywhere in the window outlined by the pink rectangle to draw a quad.
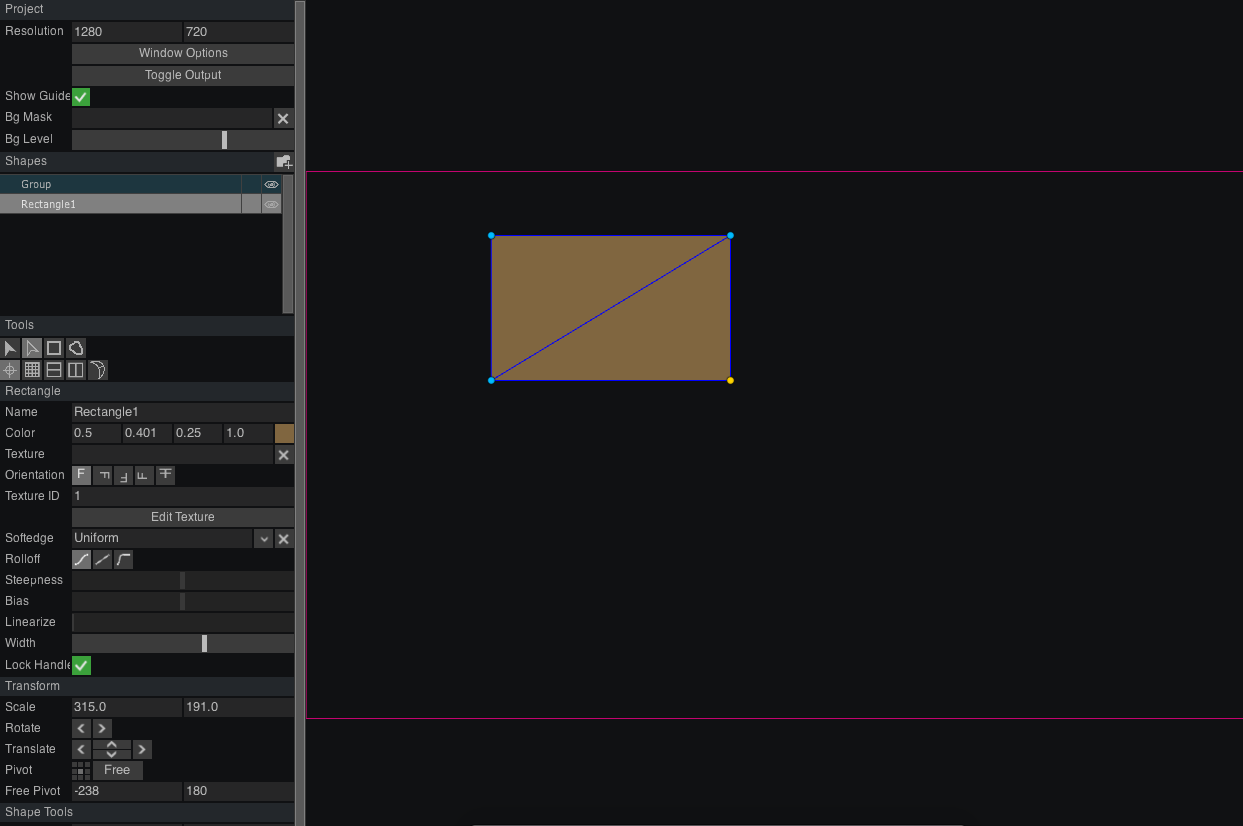
Click and drag anywhere in the space outlined in pink to draw a rectangle.
You can change the color of the rectangle in the “color” field but we want to do something more interesting and use a video file as a texture. First we need to make sure texturing is activated. To do so, click the “x” in the field marked texture to change it to a green check mark.
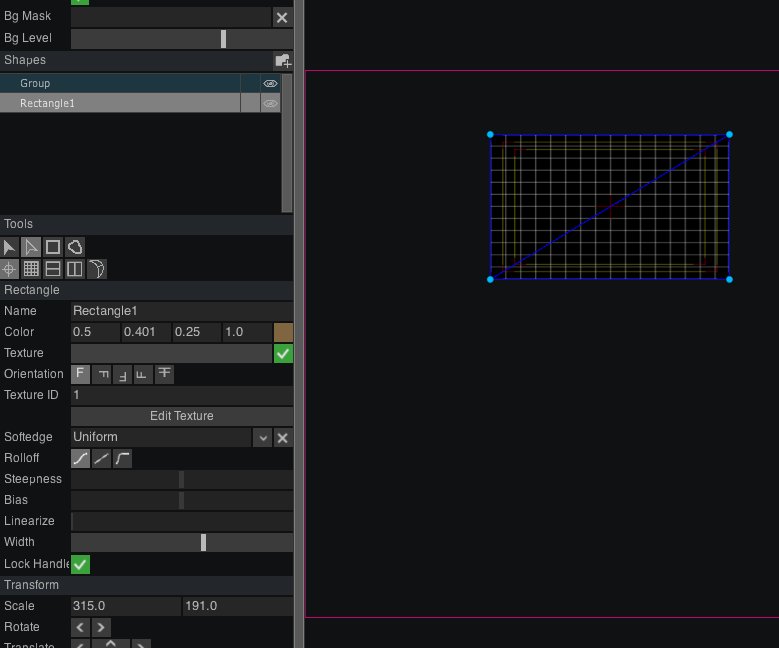
Click the “x” next to the texture field to change this to a green checkmark.
Next, we need to reference our MovieFileIn top in the field marked “Texture.” We can do this in one of two ways: 1) Click and drag the MovieFileIn1 topic into the field marked Texture. This will automatically create a path. 2) If you find this difficult or confusing, you can type the path manually by clicking on the “Texture” field and writing the path “/project1/moviefilein1” (including the “/” forward slashes).
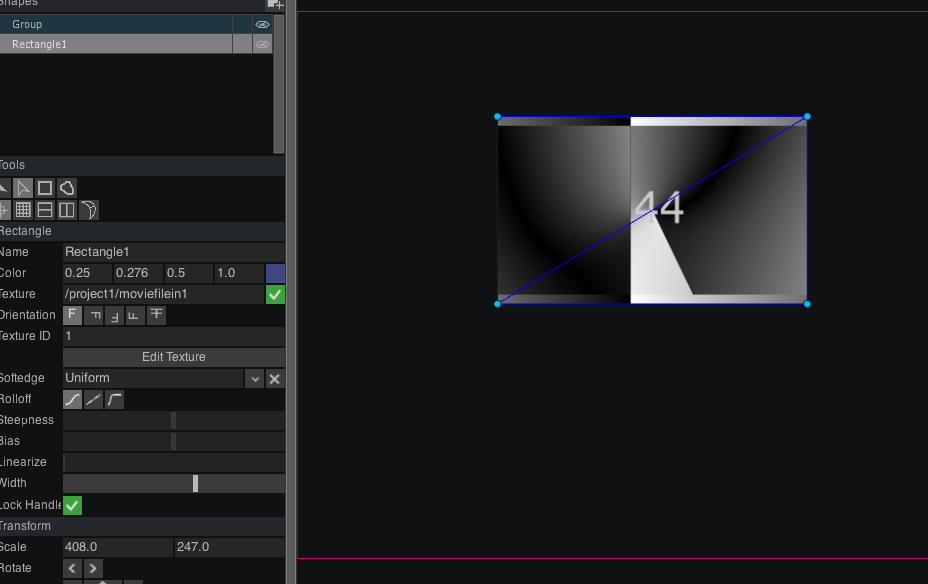
Once the path is set, we should see our movie fill the rectangle.
This is the basics of projection mapping! You can draw custom shapes instead of rectangles using the freeform tool. You can make softer shapes using bezier curves that can be adjusted using the handles that appear and / or you can use the softedge tool (you must again click the “x” to a green check mark to enable this tool.) We will go over all of these in the workshop. Feel free to play around with the video files to make video effects as textures and also try using ramps! Some examples of this can be found in the FancyTextures.toe and TapeArtTest.toe networks. To learn more about Kantan Mapper, see TouchDesigner’s documentation and the tutorials below.

You can use the “custom shape” tool to draw other shapes and create softer forms using bezier curves and / or the softedge tool.
TUTORIALS
Tape Mapping with Guillaume Bourassa
Intro to TouchDesigner for Projection Mapping with Elburz Sorkhabi
Perspective “3D” Mapping and Softedge with Coaction Lab